 Being able to monitor your 3D printing job remotely is important, and fun. Some 3D printers come with a camera built-in, but mine didn’t, so to add one, I started with a webcam like you would use with Skype. The picture was OK, but if I wanted video in 1080p, a new webcam with that resolution was going to be at least $50.
I had a Wyze Cam v2 laying around and wondered if I could use that for monitoring in 1080p HD? I had previously set it up for my printer, but the only way you could view it was via the Wyze app, and that only works on a smartphone and I wanted more detail. For $19.99 and a little work, this is a great setup. Here’s what I did:
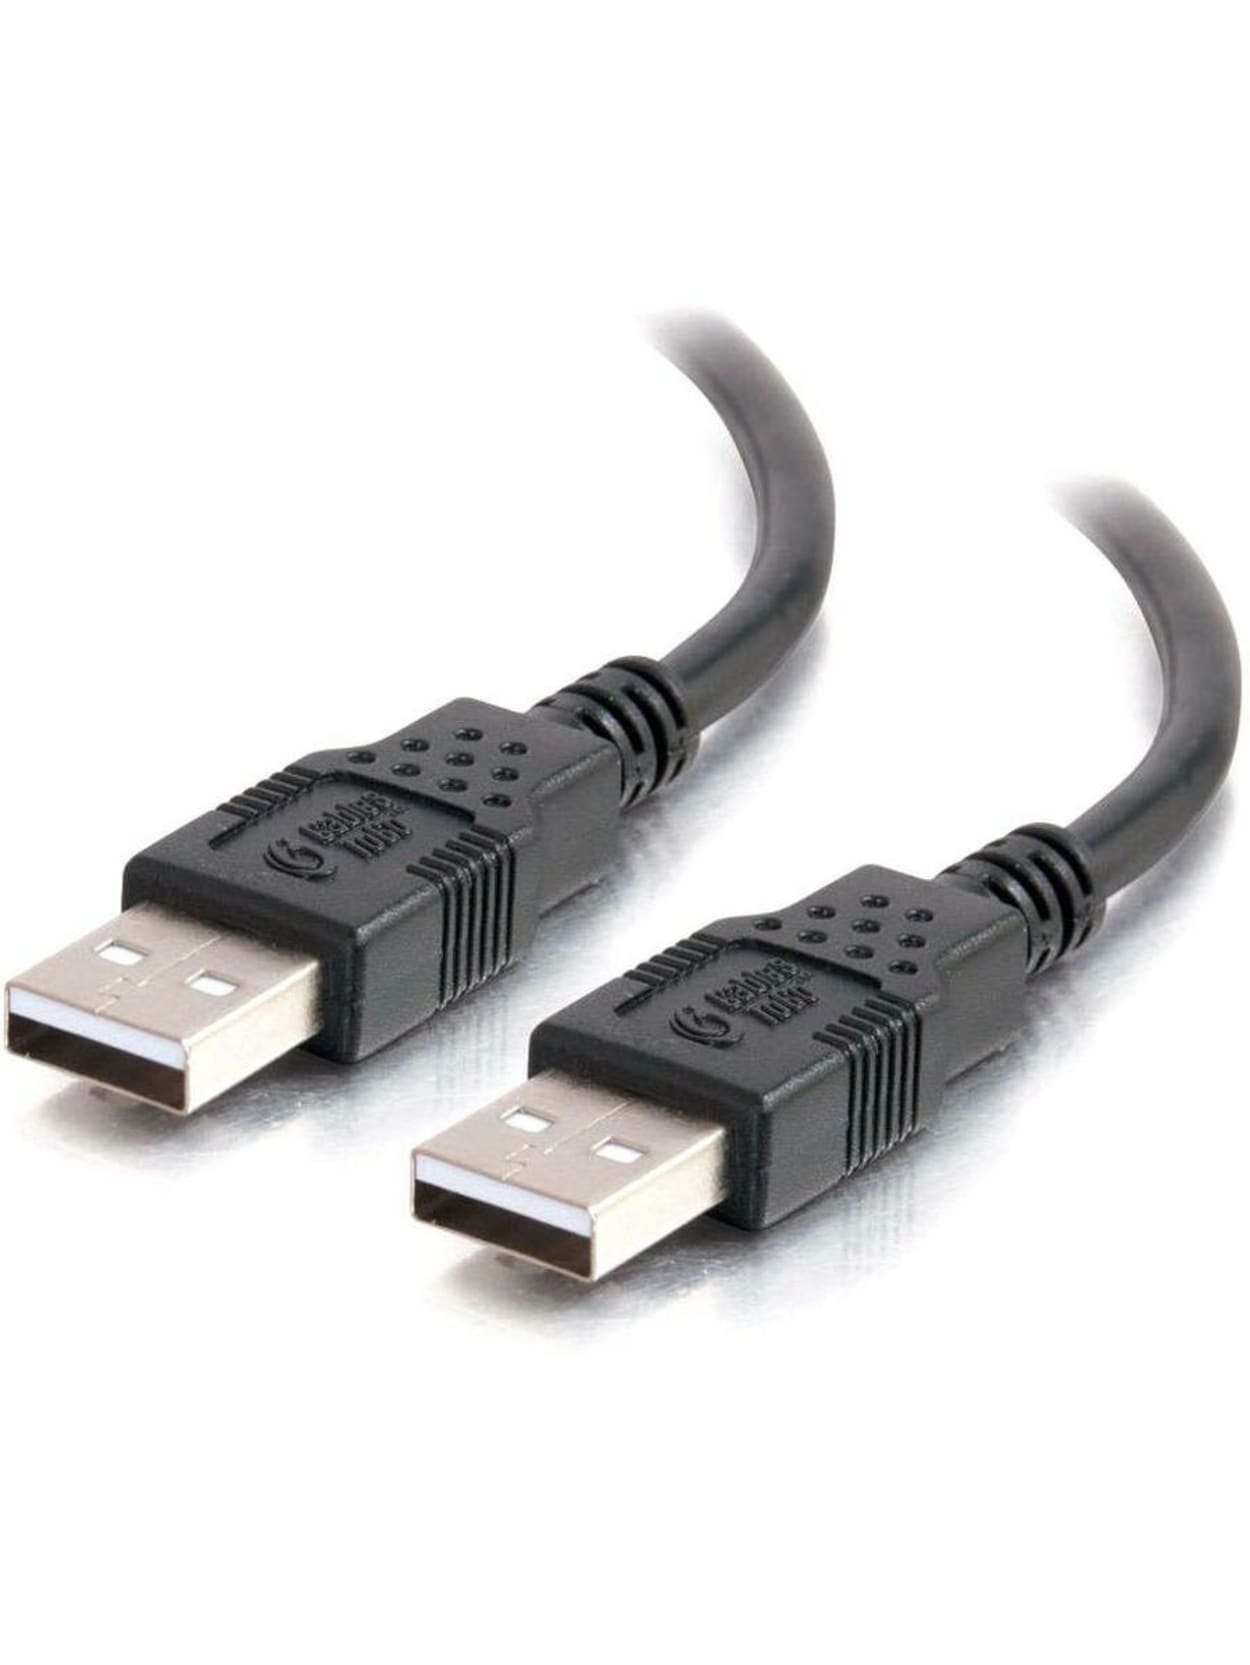
- If you don’t have one already, you will need a USB 2.0 A Male to A Male Cable.
- You will need to flash the camera with the new firmware.
- The v2 lens is adjustable if you do a little disassembling. It can also be replaced for less than $20 if you want a different focal length. I didn’t feel I needed to do that, but if you want to hunt around, search for “M12*0.5 Mount”
Now that your Wyze Cam is a USB webcam, you can monitor the video feed with a variety of free applications. Your OS likely already has one built-in like Windows Camera or Mac Photobooth.
I went one step further and installed Octoprint on a Raspberry Pi. This allows me to view the video feed on my computer, records a timelapse video, and with the Octopod plugin, I can monitor and control my print job remotely. More on that later.