Mastering WeVideo for Classroom Creativity
TECH-920 – Three 900-Level Semester Units

Embark on an exhilarating journey with ‘Mastering WeVideo for Classroom Creativity,’ where educators are equipped with dynamic, enjoyable, and highly effective teaching tools. Discover the art of creating multimedia content uniquely tailored to lessons, injecting an element of fun into the learning process.
WeVideo stands as a user-friendly canvas, fostering a seamless experience for teachers to assess student learning directly within the app. Unleashing the potential of fun-filled, engaging content, teachers effortlessly elevate student engagement levels, creating an interactive and captivating learning environment.
With WeVideo, the joy of learning transcends traditional boundaries. It’s an intuitive platform designed for educators to effortlessly weave creativity into their teaching methods, ensuring higher levels of participation and enthusiasm from students. Embrace the ease of building connections in any learning setting, making education a journey that is not only effective but also immensely enjoyable.
Save Up To $45!
Use this code to save $15 per course: Eric45
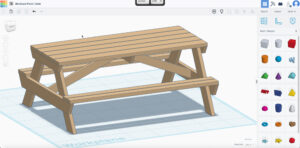 The first screencast in this lesson covers building a picnic table from dimensional lumber in Tinkercad. A variety of skills are utilized with staying organized being emphasized. There is even some basic math used to help scale the project down so it will fit on TC’s print bed.
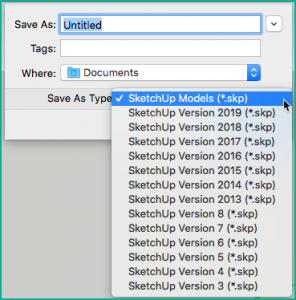
 I have used several slicing programs to prepare my models for 3D printing, but none comes close to PrusaSlicer, which is open-source (free) for all to use.
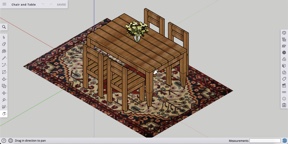


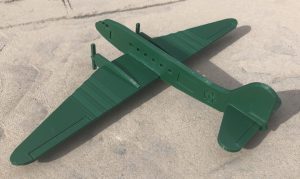 The Douglas DC-3 (the military version was the C-47) first flew in the 1930s, made commercial passenger flight affordable, flew in many wars, and still flies today.
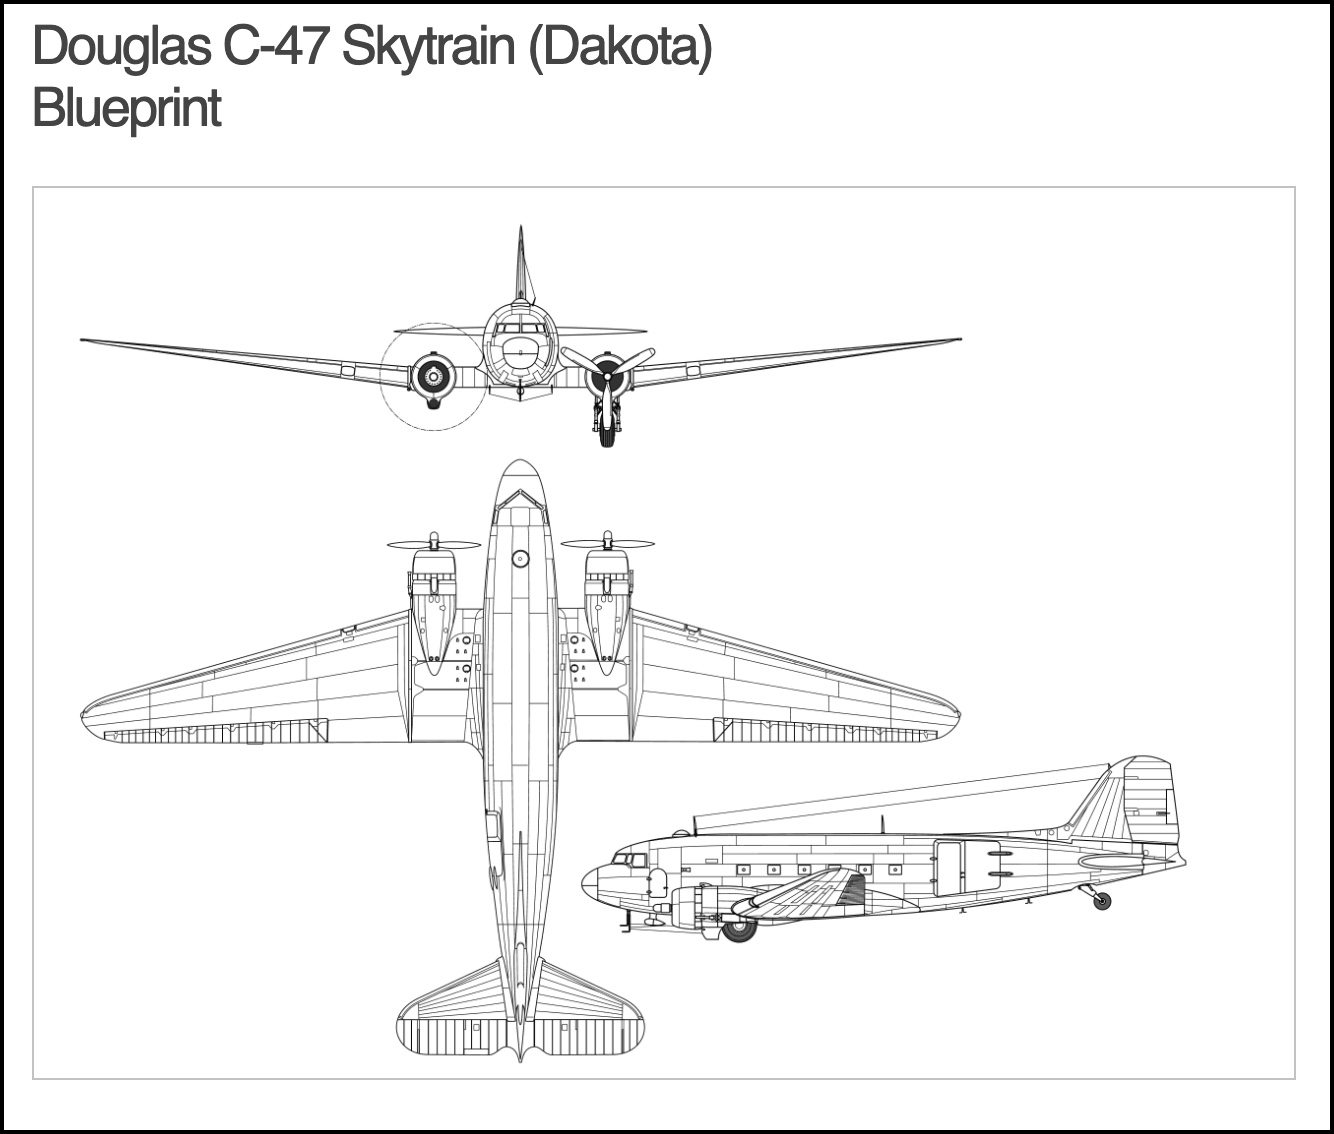 DC-3 Blueprint
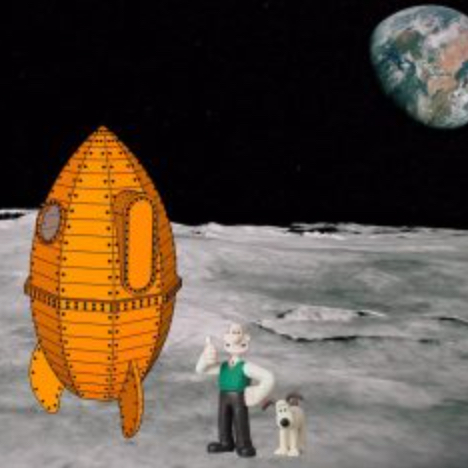
 When I started planning this project, I was asking myself what could be fun for kids, have supporting media, and be short/easy. I think I hit the first two perfectly, but I kept wanting to introduce new skills. Before I was done, I realized I had created a monster, but a fun monster indeed.
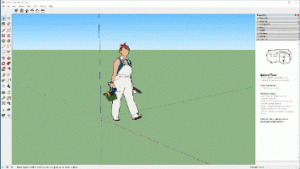 This is a series of video screencast tutorials that demonstrate how to create a pencil using SketchUp. It is a great introductory activity.
 The screencast is indexed giving students the advantage of quickly find out where they left off from the day before or go back and rewatch a segment for better understanding.